GlobeViewer manual version 0.8.0
Main menu
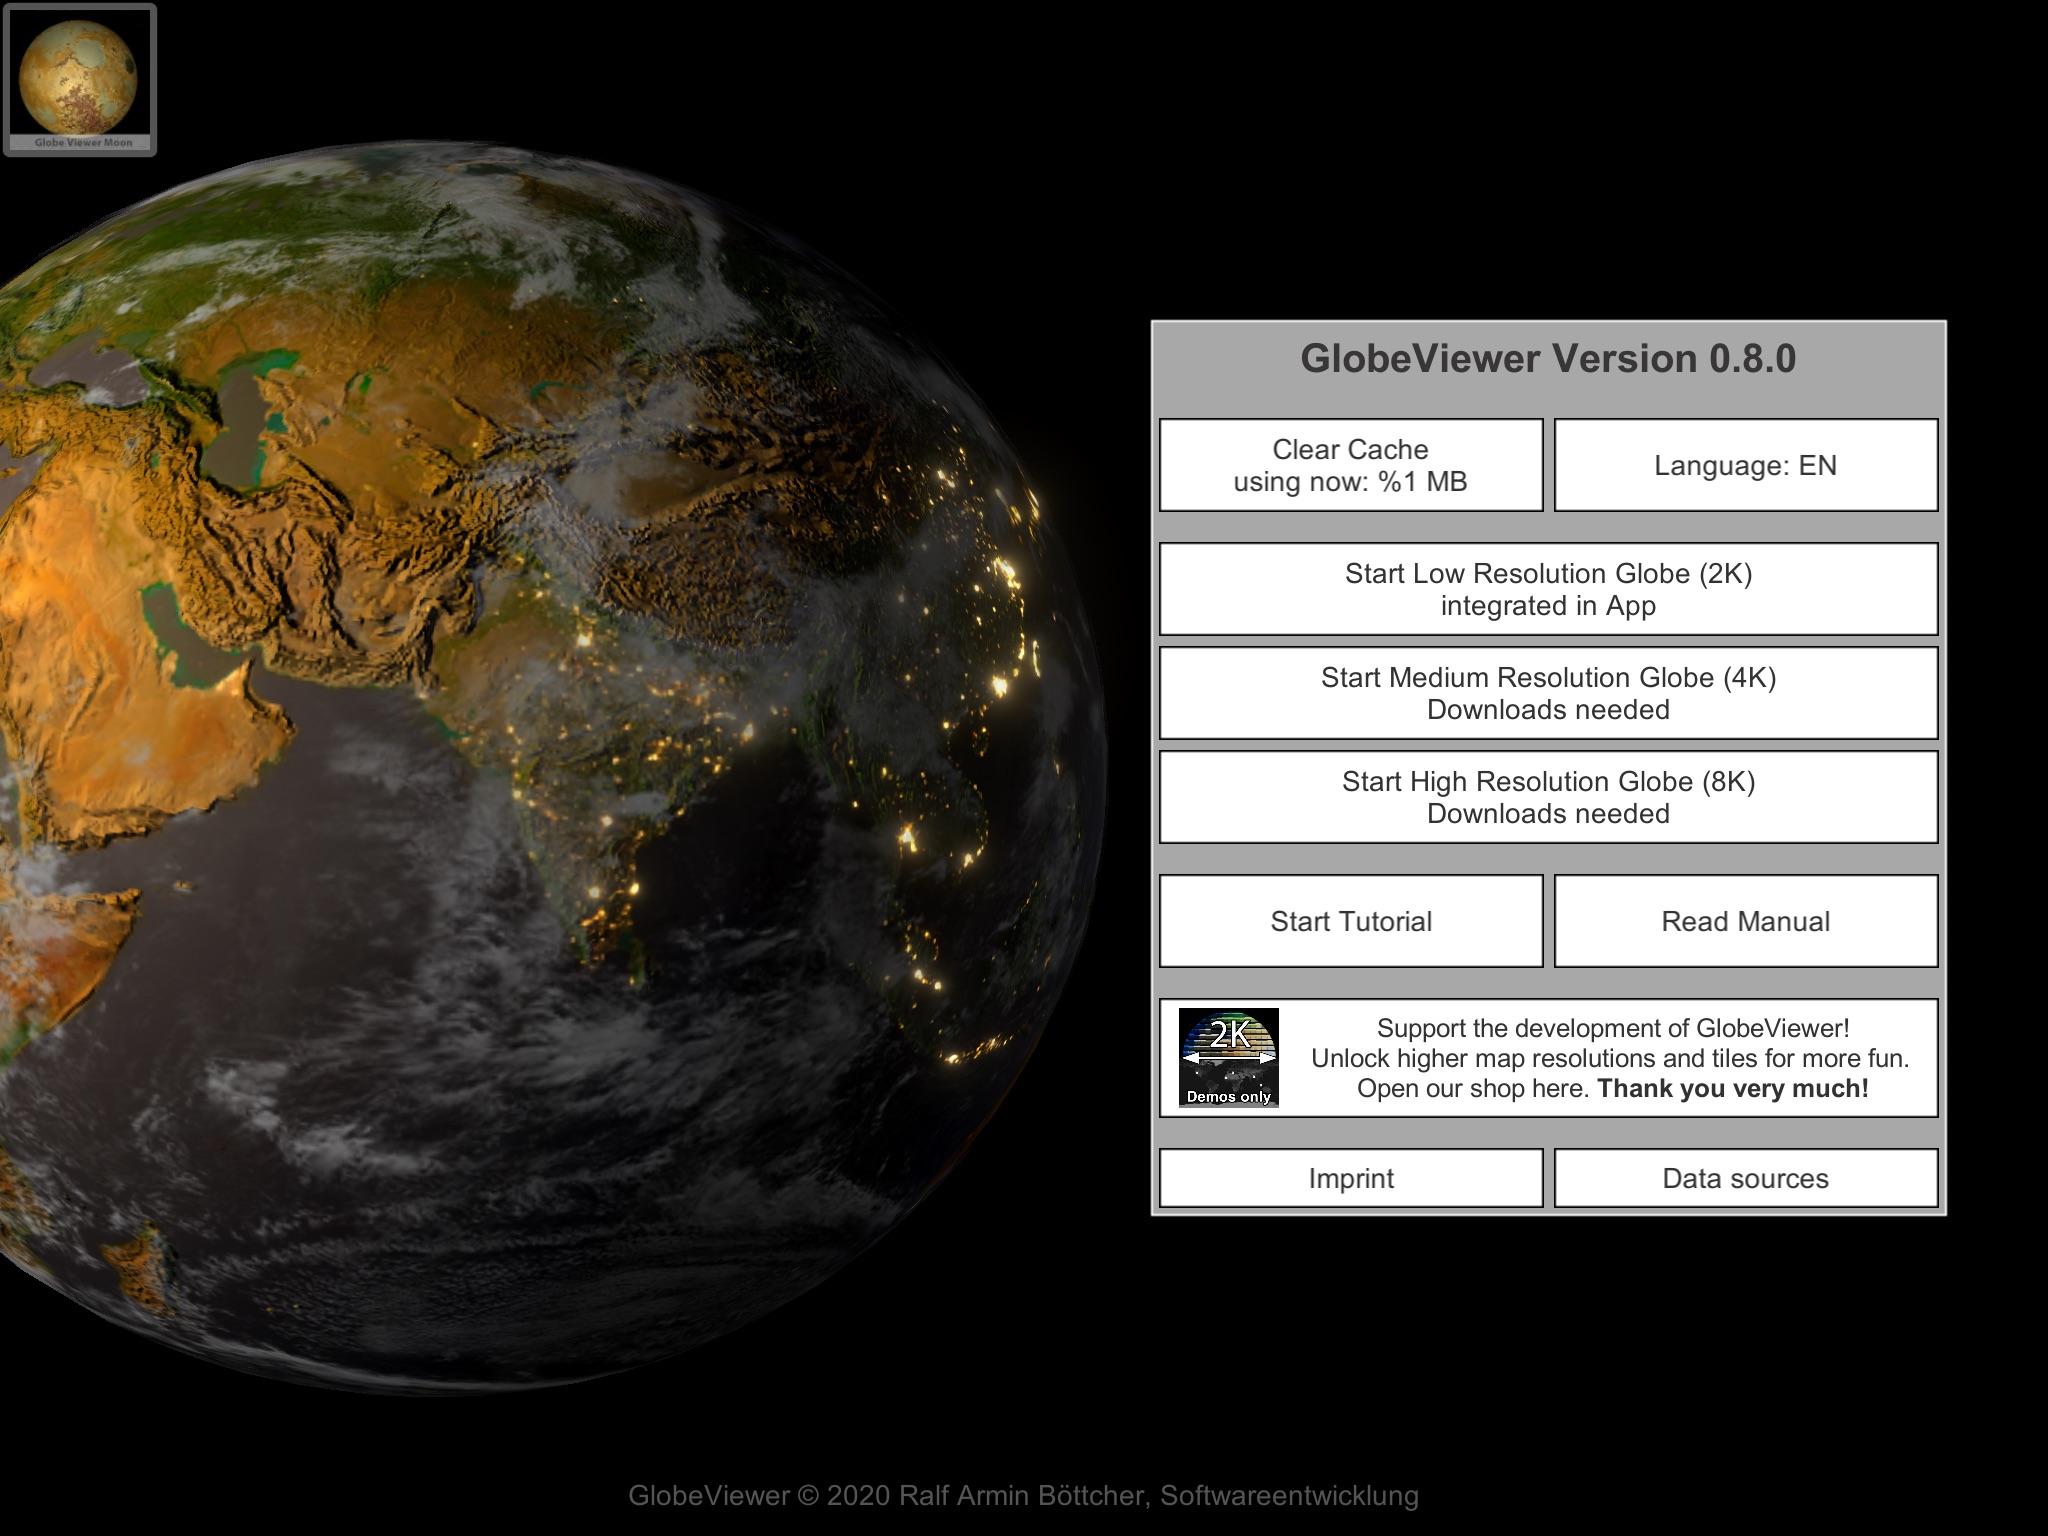
Clear download cache
The app downloads a lot of textures from our servers. These are cached on the device for later reuse. If the data is not needed offline, the download cache can be released manually. All data can be reloaded again and again from the server.
Language selection
Here you can specify the language that the app should use. You can choose between German, English, Spanish, French, Italian and Portuguese. New since 0.9.3 are Thai, Hindi, Vietnamese and Indonesian.
Resolution selection
After installation, the app only contains a very low-resolution texture for the global view. All higher-resolution global textures must first be reloaded from the server - this happens in the background as soon as you call up the texture. The selection of the resolution only affects the global view of the earth and must be viewed independently of the 3D tiles - only the highest resolution is available there. The global view is limited to a maximum of 8K so that the app can also work on older devices.
Please note that the global view always remains in the main memory as long as the app is running. If you have loaded the 8K variant and then the app crashes when loading 3D maps, you should only try to use the 2K global texture, as there is so much more RAM available for the 3D maps. The 3D maps always have the same texture resolution, regardless of which global texture has been loaded.
Tutorial
A tutorial guides the user through all available areas of the app.
Manual
Opens the manual on this website.
Shop
Here you will find an overview of all products that are available. When you buy the PRO version, you get access to all 3D maps. Otherwise you can also buy individual regions separately.
Data sources
All data sources that were used for the app are listed here.
Imprint
Here you will find the legally required contact information about the app developer. You can also visit our website here and leave comments on the app that will help us to further develop it. You can also find the link to our privacy policy here.
Globe view
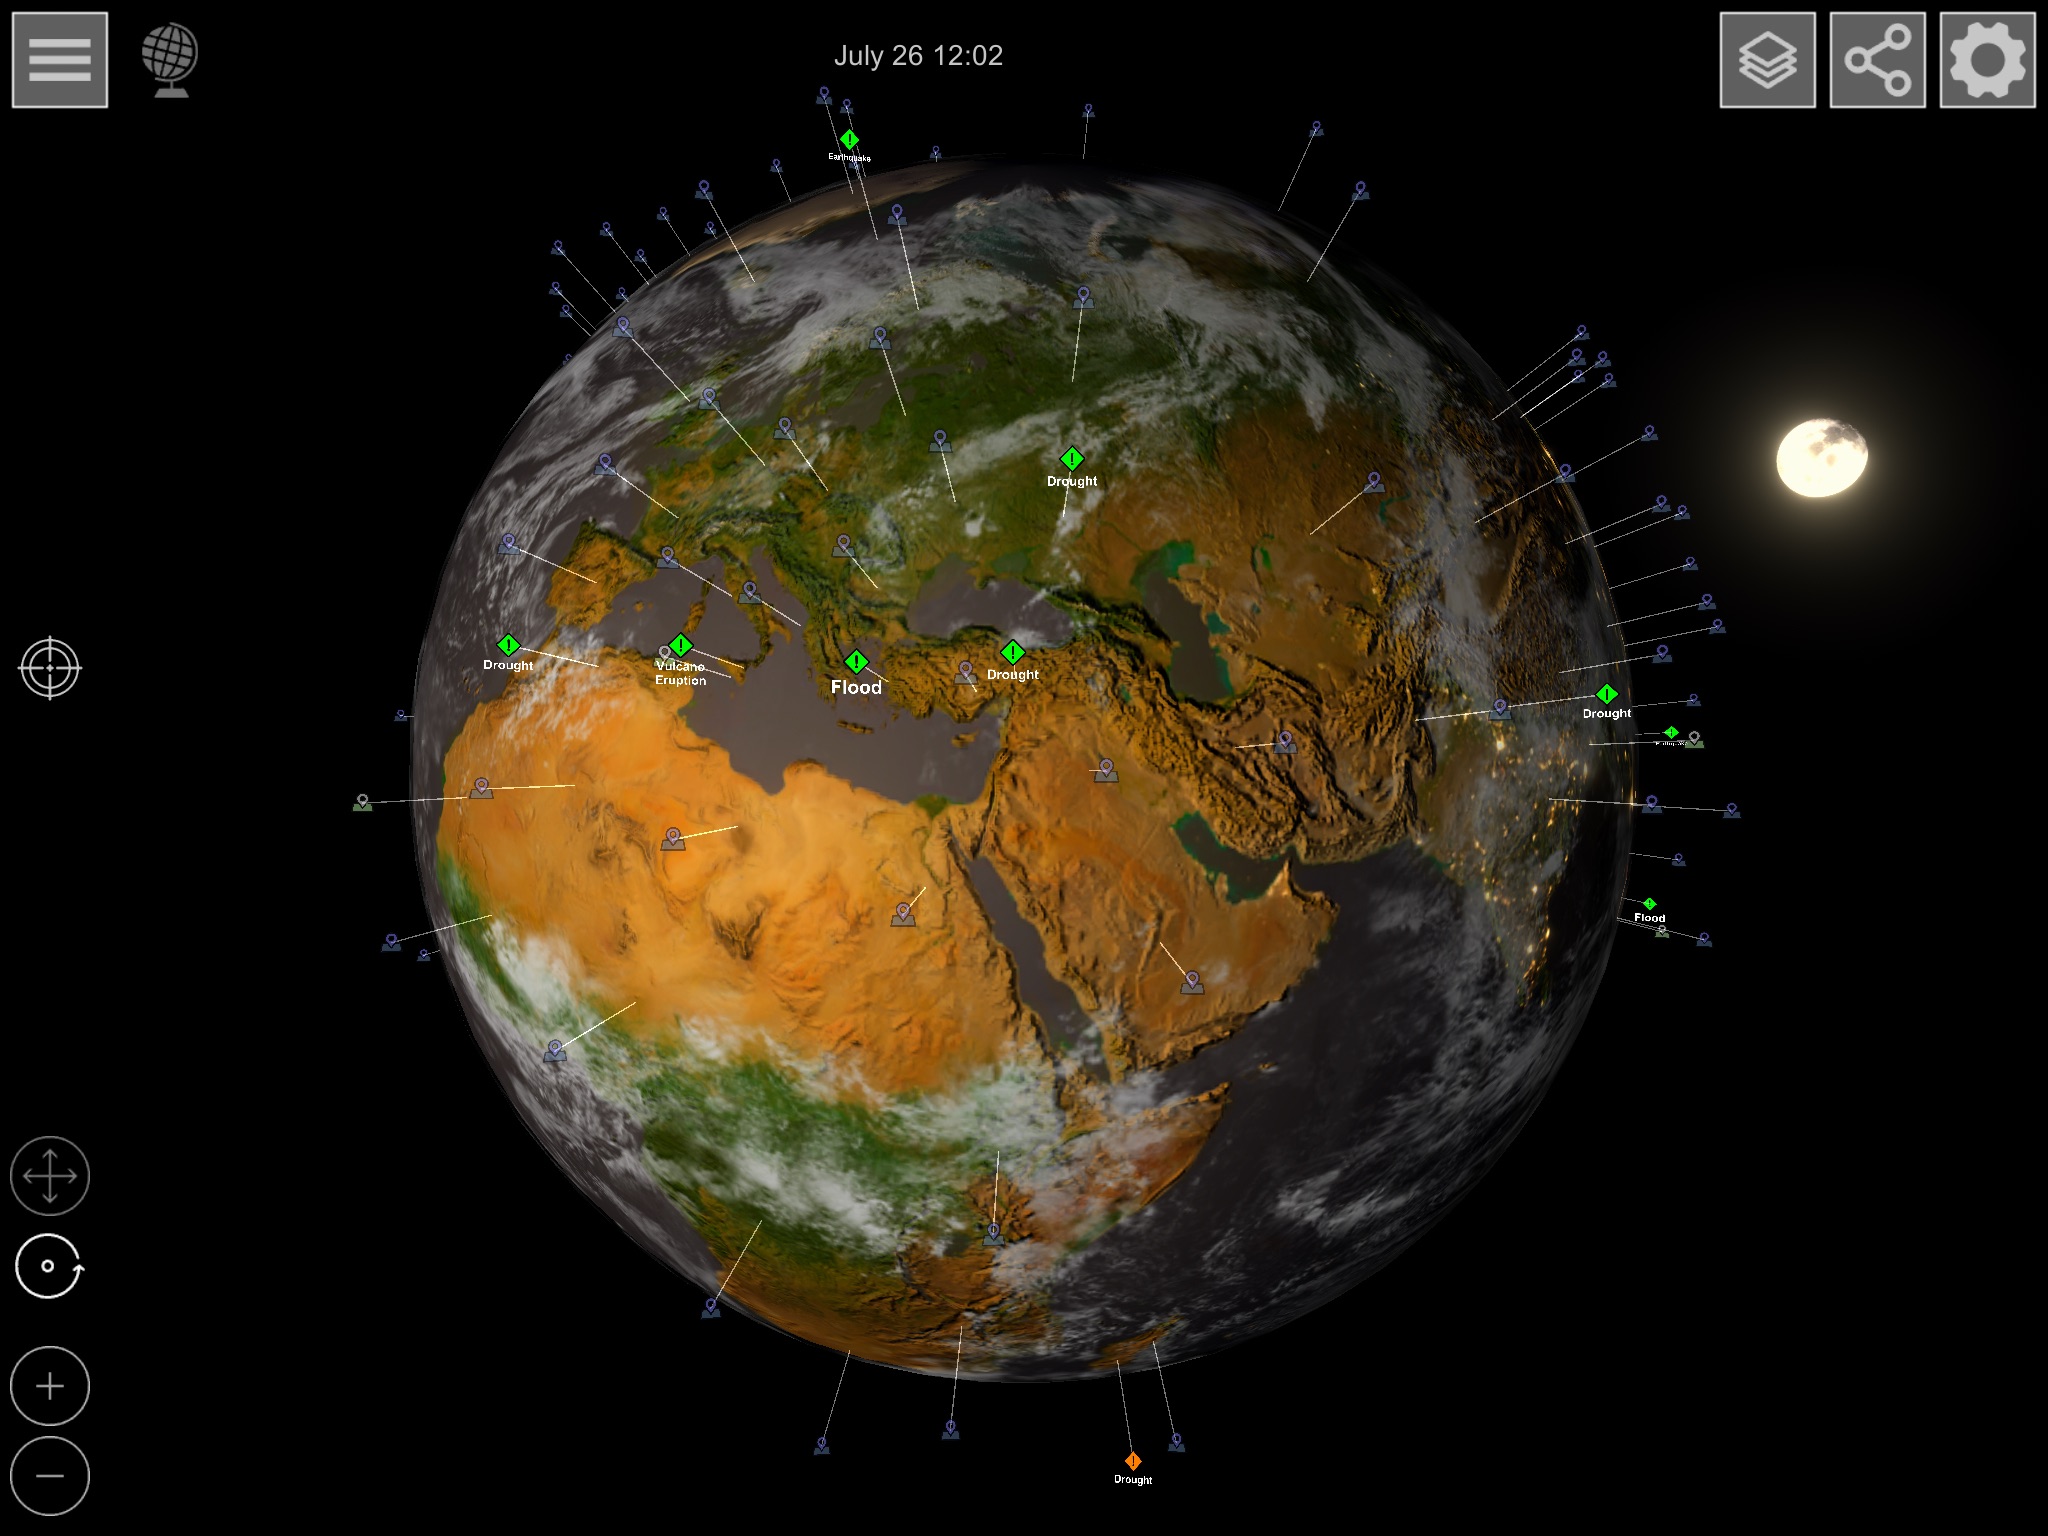
The globe view shows the earth with the current texture layer you have set. Furthermore, all natural events defined by the GDACS (Global Disaster Alert and Coordination System) are displayed. All available markers for loading the high-resolution 3D tile scenes can also be found in the global view.
If you zoom in closer to the surface, different markers are displayed on the globe. First the state names are displayed. If you zoom in further, the city names of the corresponding area appear. You can use the view options to set which cities should be displayed.
Control
Use the following gestures to control the camera:
- One finger rotates the camera around the globe
- Use two fingers to zoom in or out of the globe
- You can click directly on the markers on the globe for environmental events and the 3D map markers
Alternatively, you can also use the camera with a single finger using the symbols at the bottom left. In the globe view, only the rotation mode works. If you have previously set to Move in the 3D view, switch back accordingly.
Find GPS position
The localize button in the center left allows you to mark your own position on the map, unless you enter another position in the corresponding search fields. Then look for the entered position on the globe. You can also search for a position in the 3D view as long as the position is within the loaded 3D scene.
Texture layer
There are four different texture layers for the global view:
- Surface (photo representation of the earth's surface)
- Surface with state borders
- Waterless globe
- ASTER elevation display
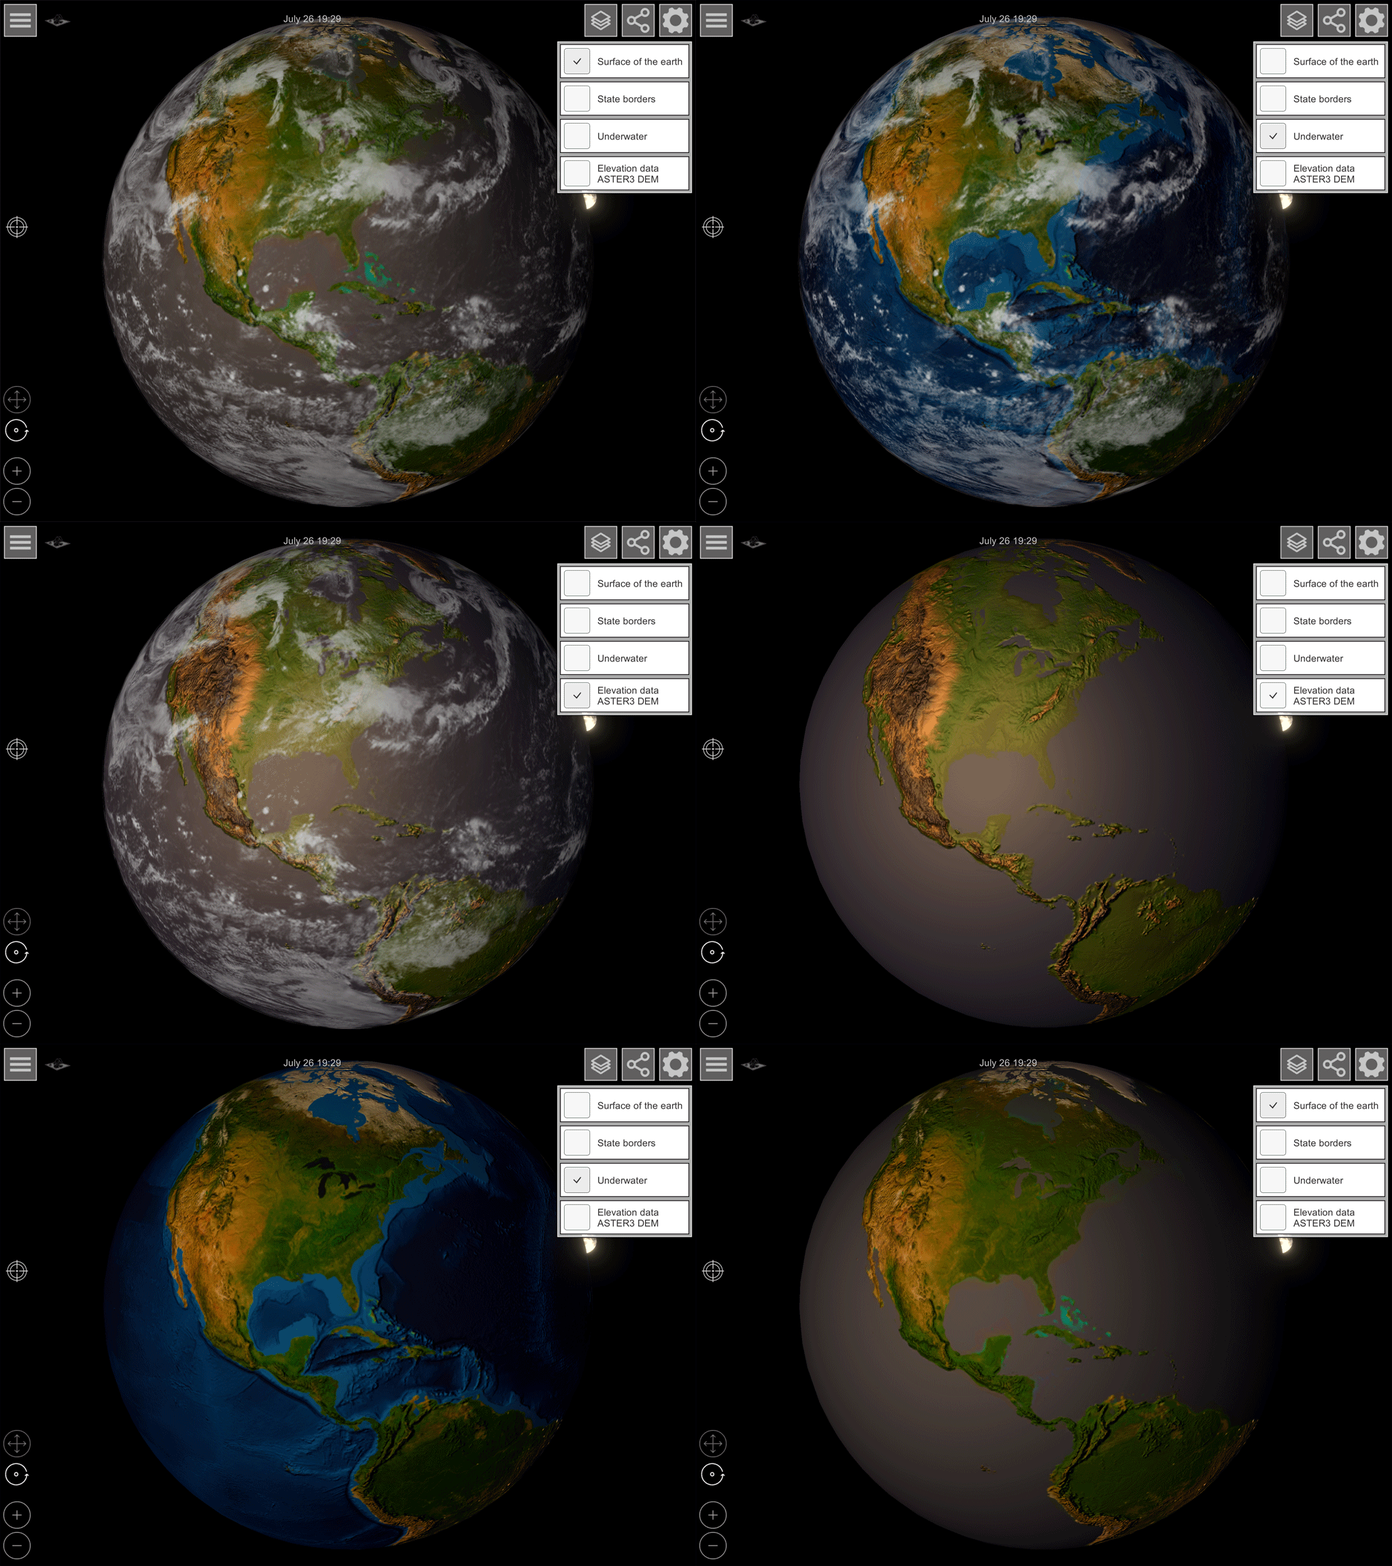
Select the level you want. The download of the texture data from our server begins in the background. As soon as the download is complete, the texture will be exchanged on the globe. Due to the amount of data (especially with the high 8K resolution), this can take a few seconds with a slow Internet connection.
Share screenshot
With this function you can generate a 4K image of the current view, which you can then e.g. can send by email. The target options depend on the apps installed on the device.
Viewing options
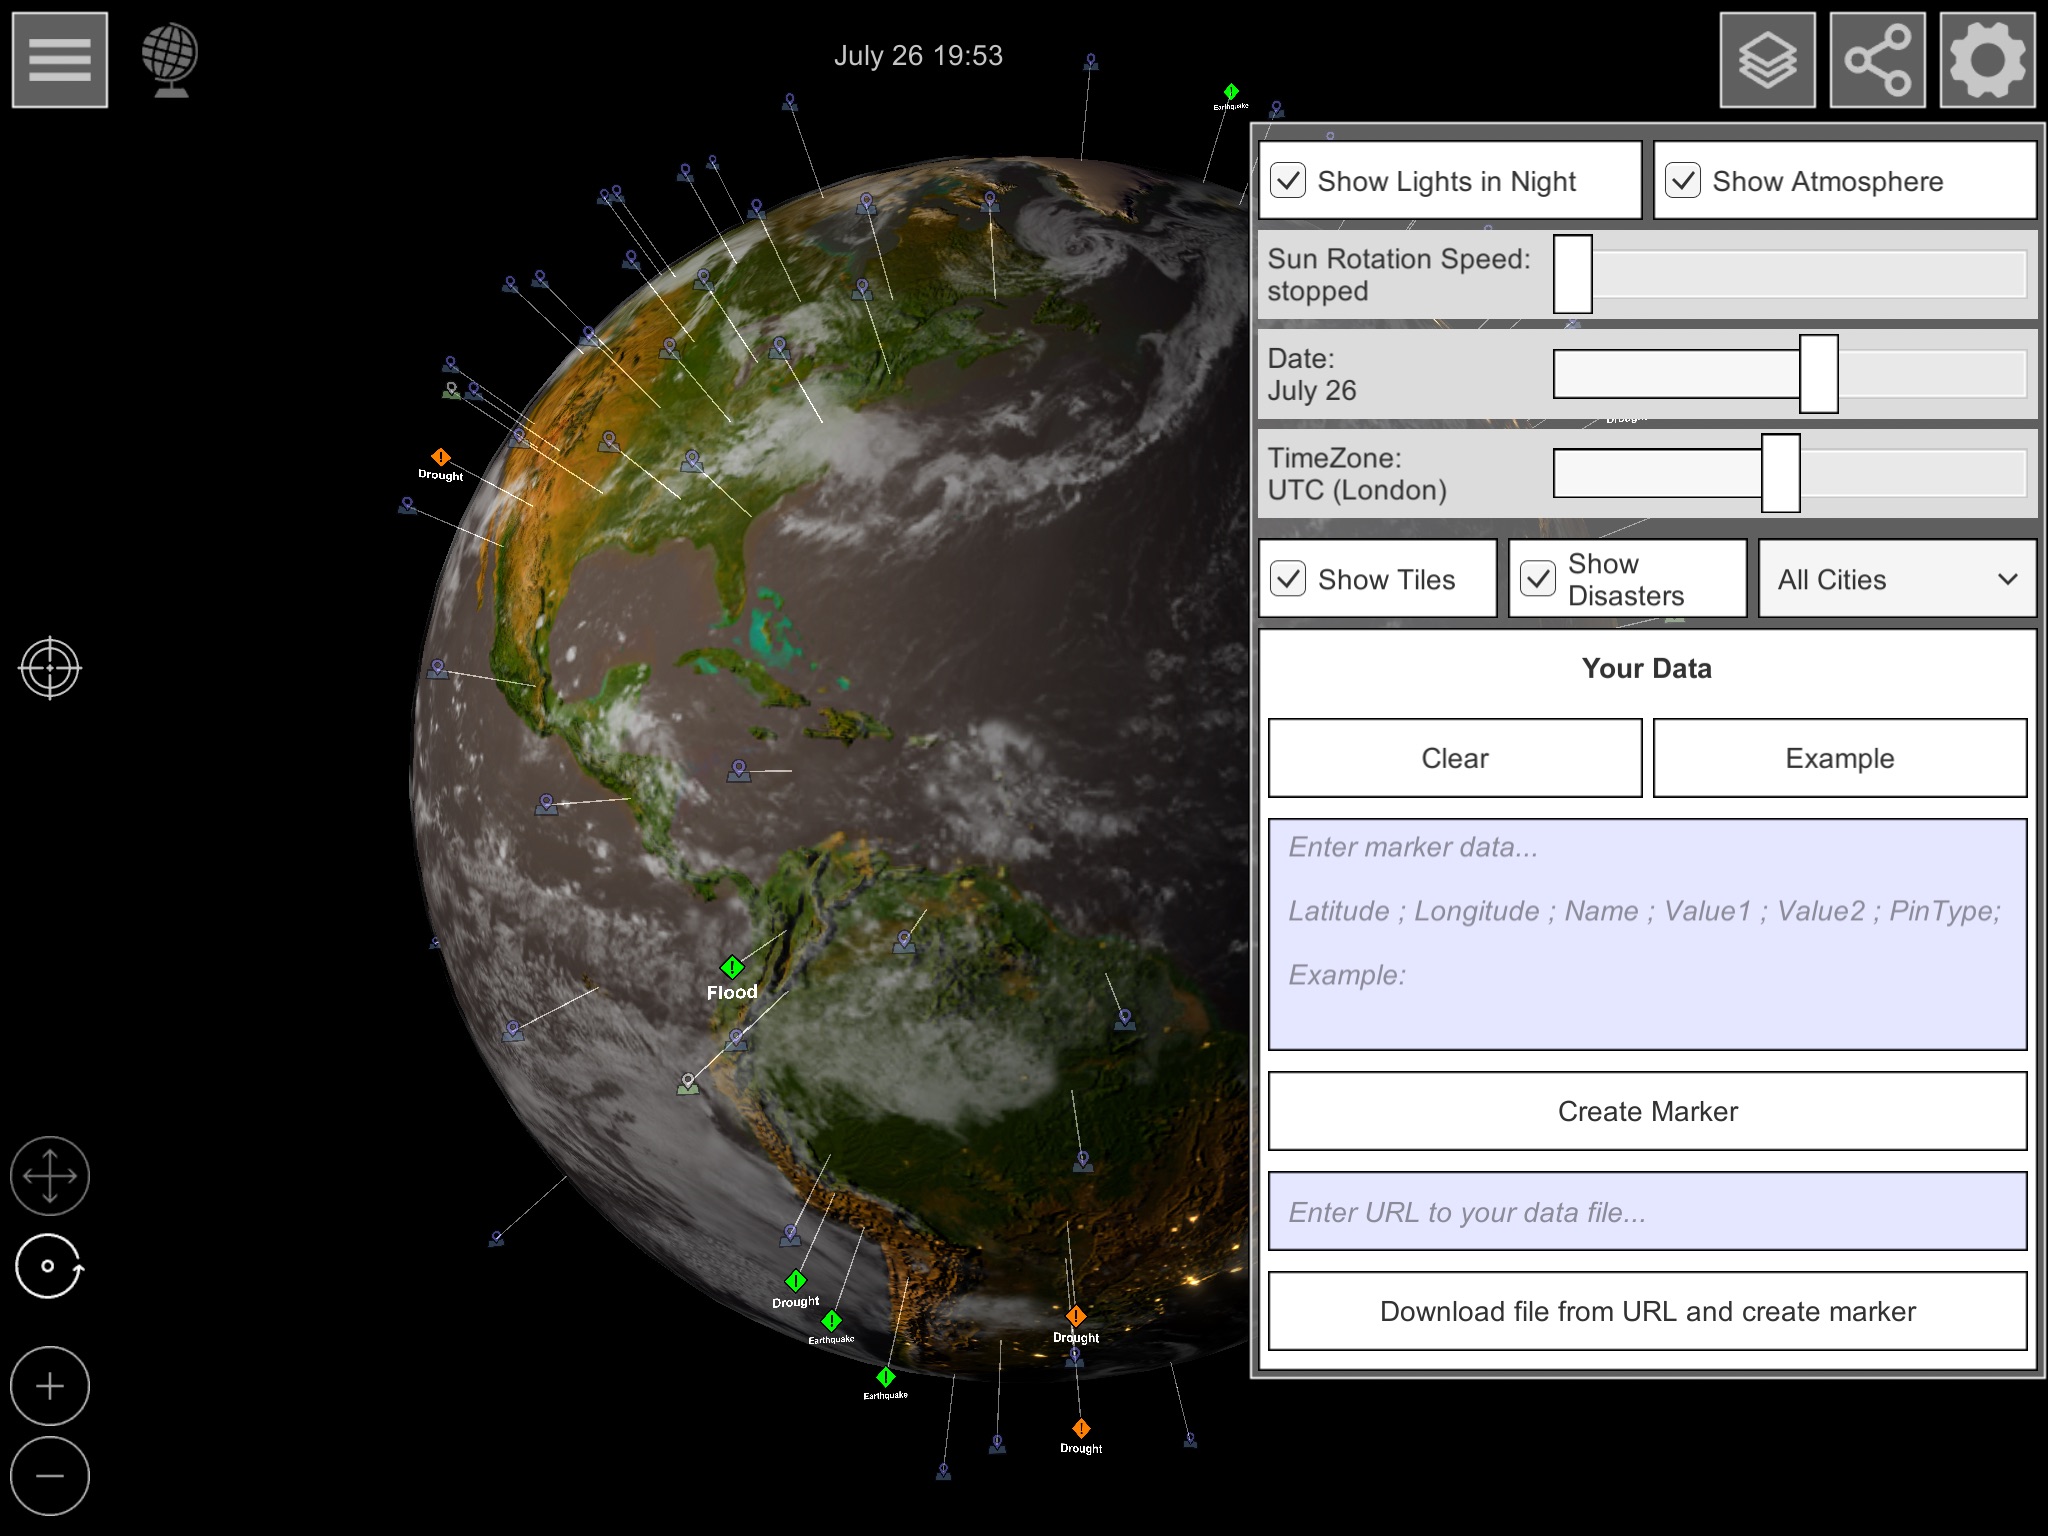
You can toggle the following options on or off as you wish:
- Night lights: turn the city lights on or off
- Atmosphere: turn the clouds on or off
- Direction of light
- Sun rotation: Automatic light rotation for day simulation
- Date: relative height of the sun to the equator due to the seasons
- Time zone: Time difference for the time display
- 3D tile display: Switch the loading markers for the 3D tile scenes on or off
- Events: Switch the GDACS natural event display on or off
- City selection: Filter the display of cities by residents. Country names are only displayed if "All cities" are selected.
- Own data
- Here you can create your own markers on the globe.
- Remove: Deletes all self-defined markers
- Example: Shows a few examples of the text definition of markers
- Create markers: Places the markers that have been entered in the text field above
- Load and create file: If you enter an appropriately prepared text file in the URL field, the marker definition will be taken directly from this text file and displayed.
3D map selection
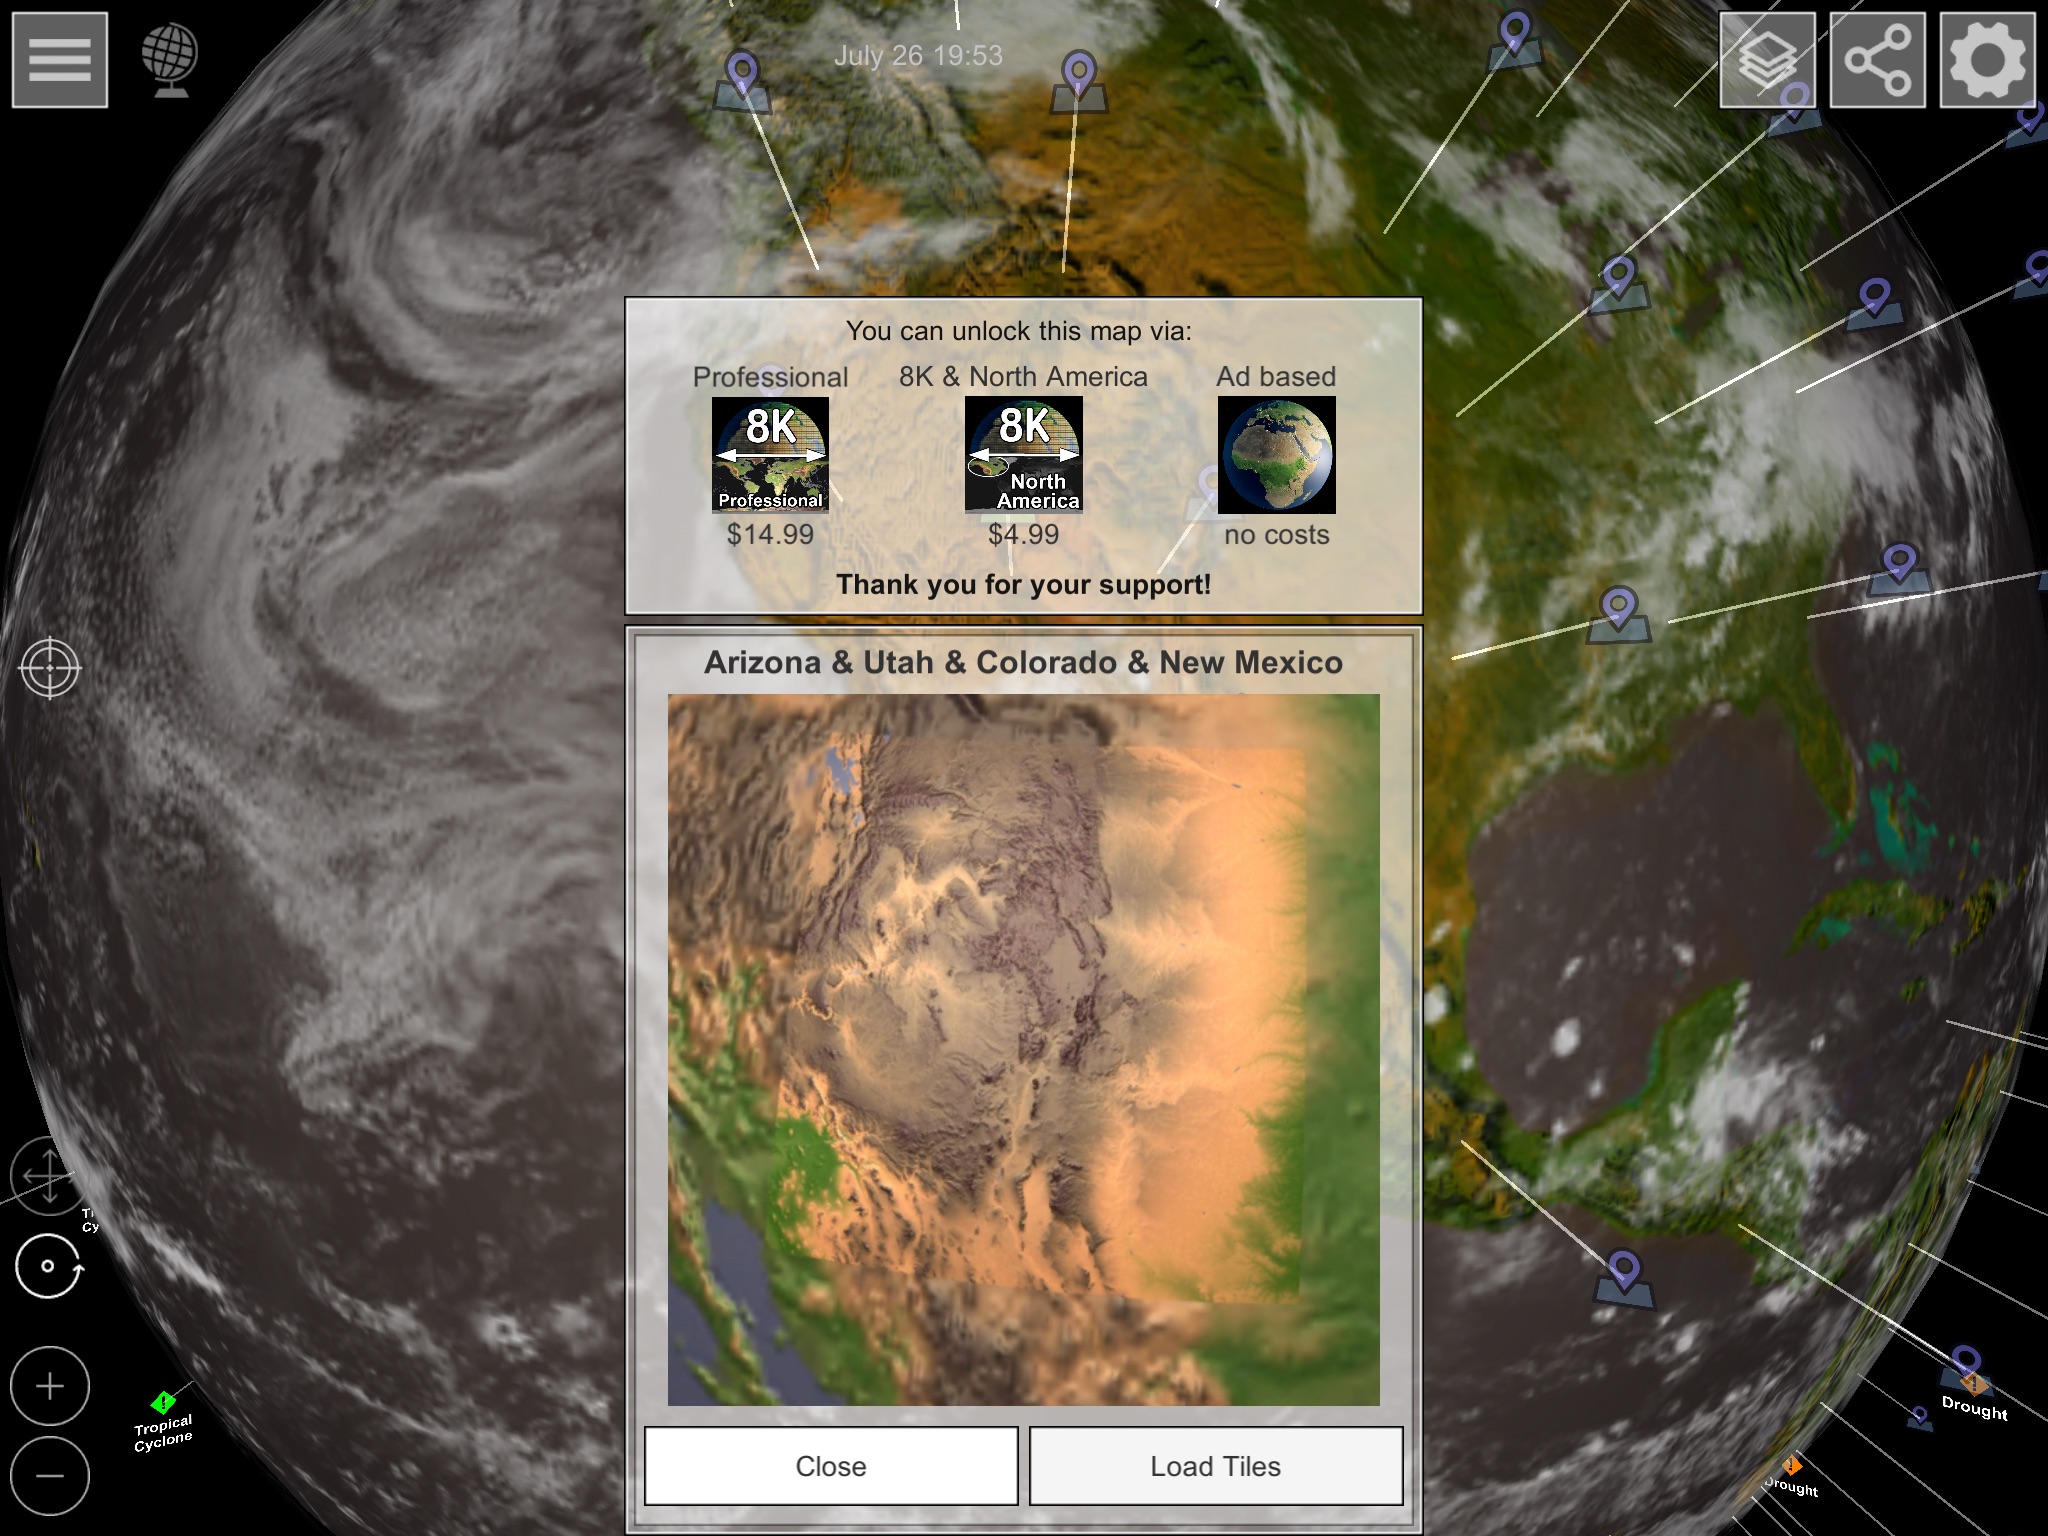
There are some markers on the globe that you can use to select the 3D map you want. There are three different options for activation:
- You buy the Pro version and activate all available regions
- You only buy the region to which the selected card belongs
- You use the free advertising access. An advertisement is shown here every minute as long as you are in the 3D map. So you can get an impression before buying.
3D map view
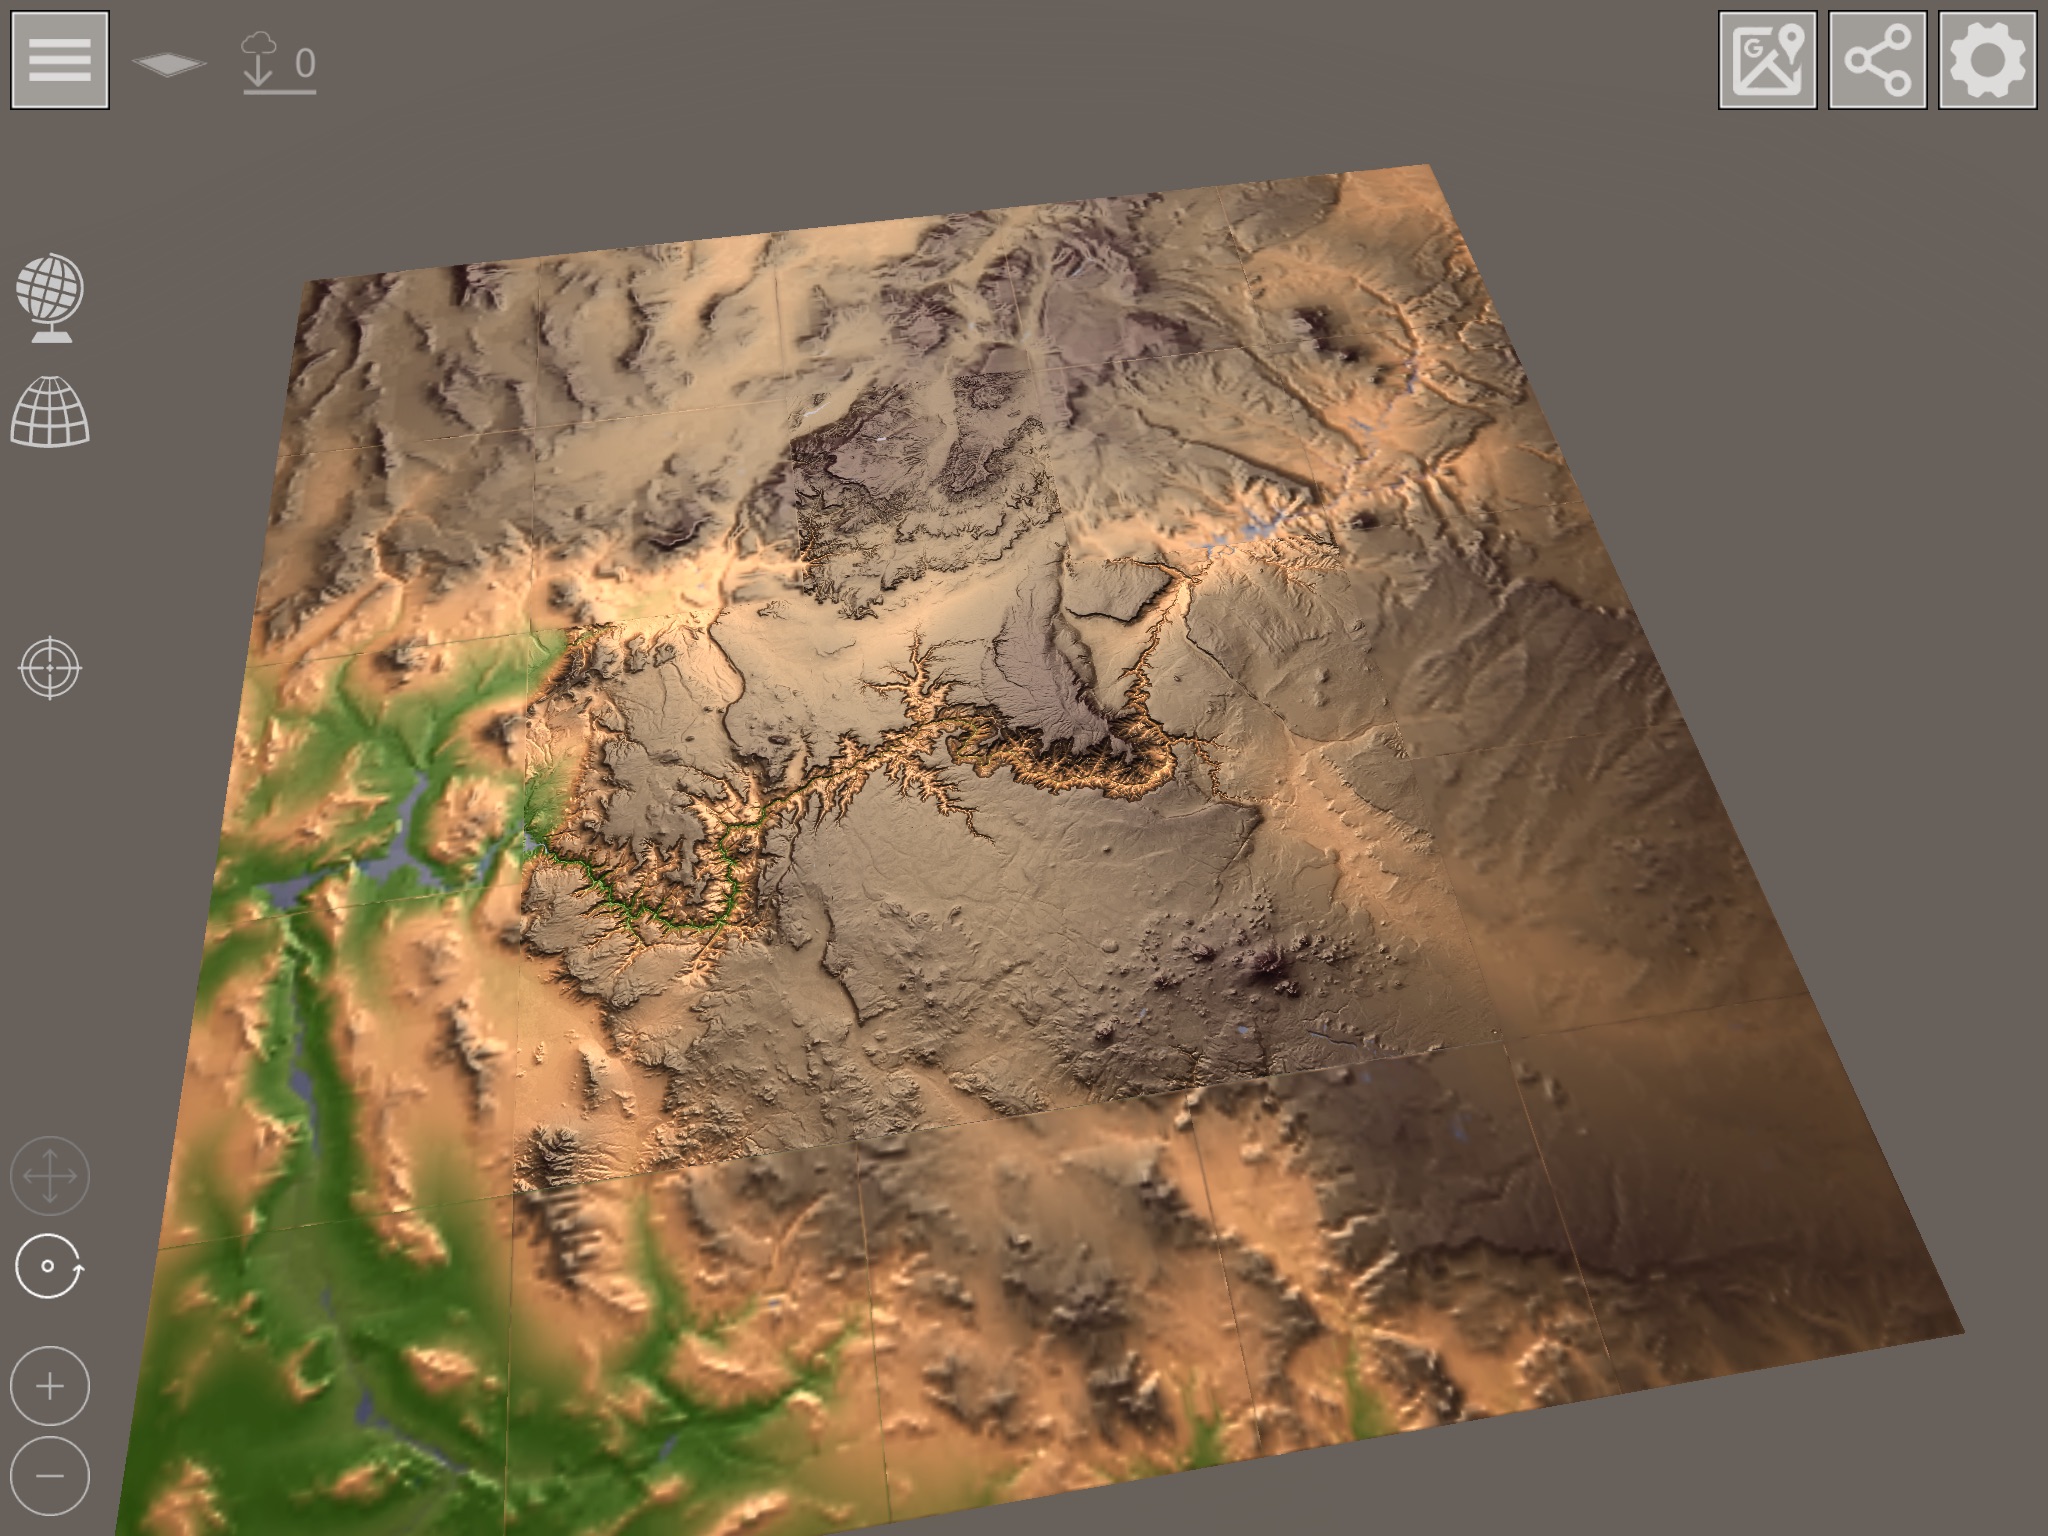
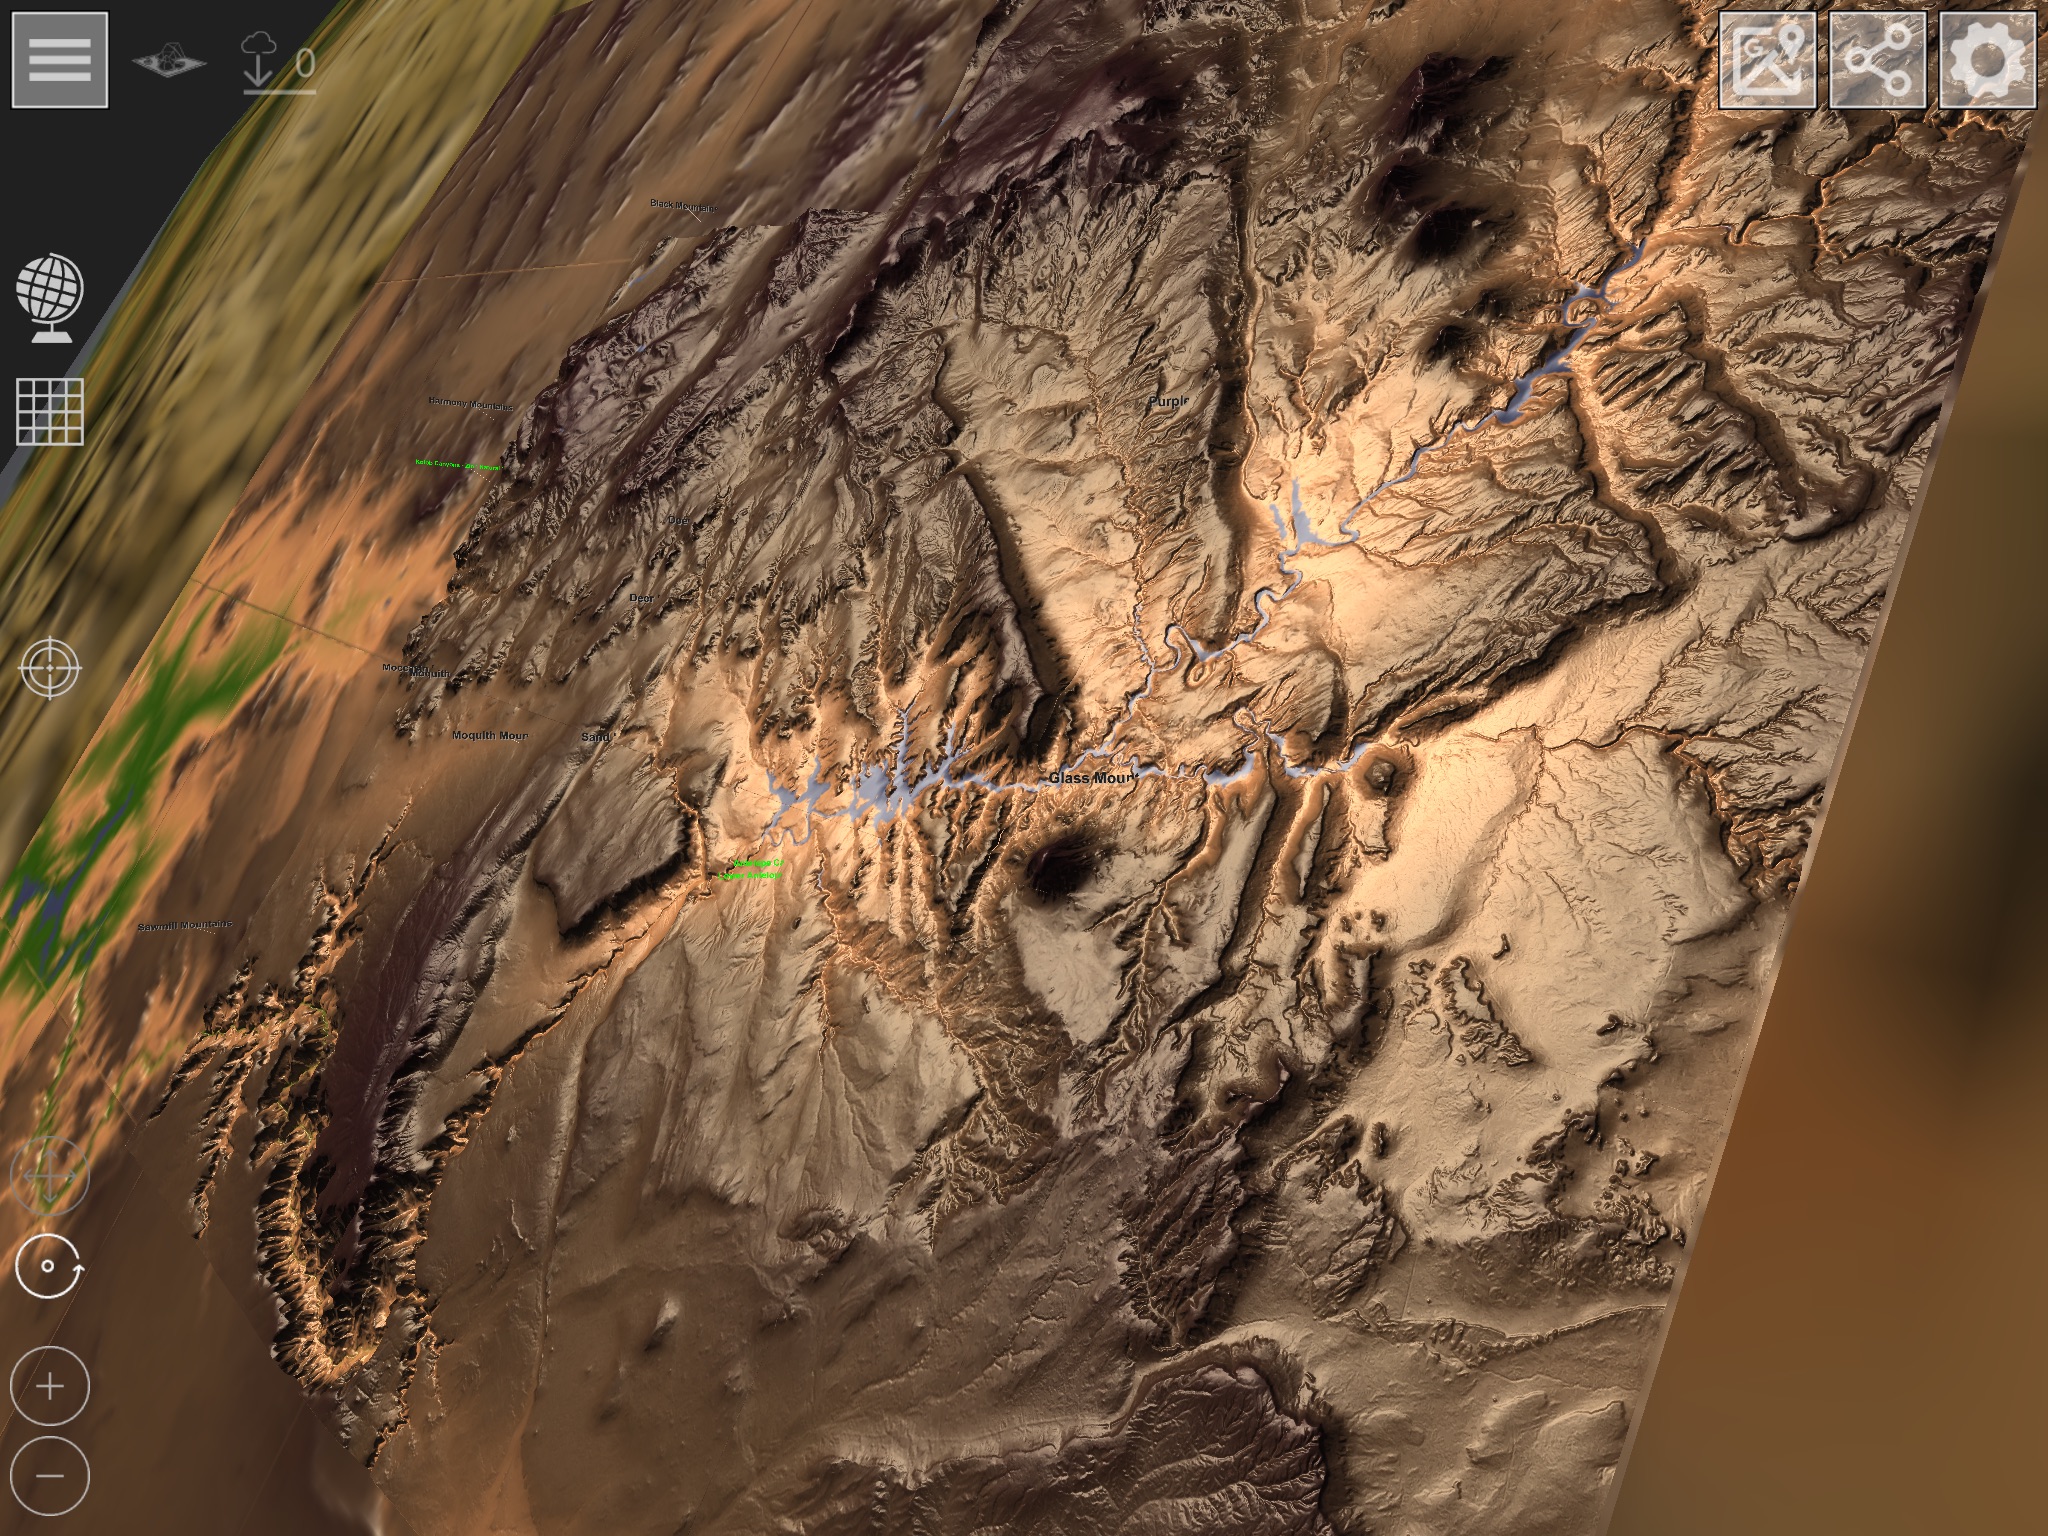
The display of the high-resolution 3D tiles only works if you zoom in on the surface with the camera. If you only see fuzzy tiles, these are the reduced textures on flat tiles that are only used for positioning. In this case, zoom in closer to the tiles - the download of the high-resolution tiles will then start automatically. The display at the top left shows whether tiles have just been requested from the server and the download has not yet been completed.
Control the camera
Use the following gestures to control the camera:
- One finger rotates the camera around the current rotation point
- Use two fingers to zoom in or out of the tiles
- Use three fingers to move the rotation point
Alternatively, you can use the symbols at the bottom left to use all functions with a single finger. When you return to the globe view, remember to set the mode back to rotation.
Important note for older devices or devices with little main memory
The global view is not removed from the memory when the tiles are loaded so that the 3D tiles can be placed over the global map. If the app on your device crashes when reloading the 3D tiles, please try to load a less high-resolution global texture so that more RAM remains free for the 3D tiles. Modern devices can work with compressed textures and do not have this memory problem.
Viewing options
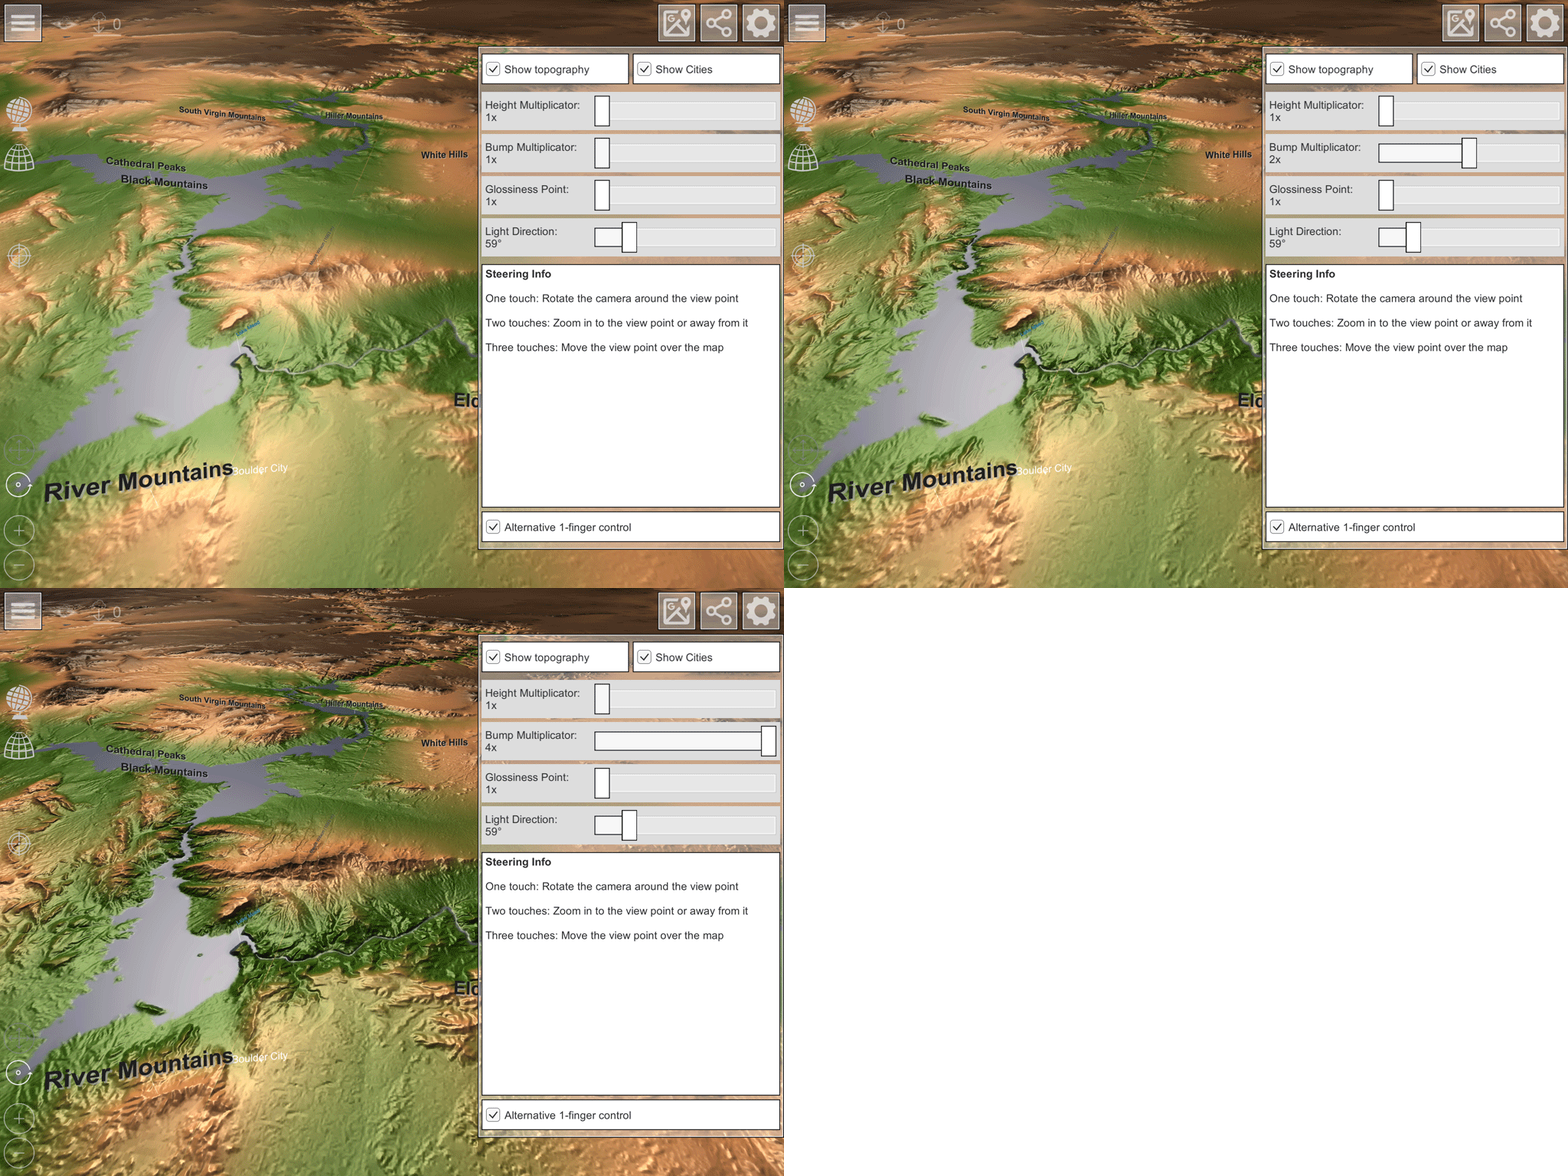
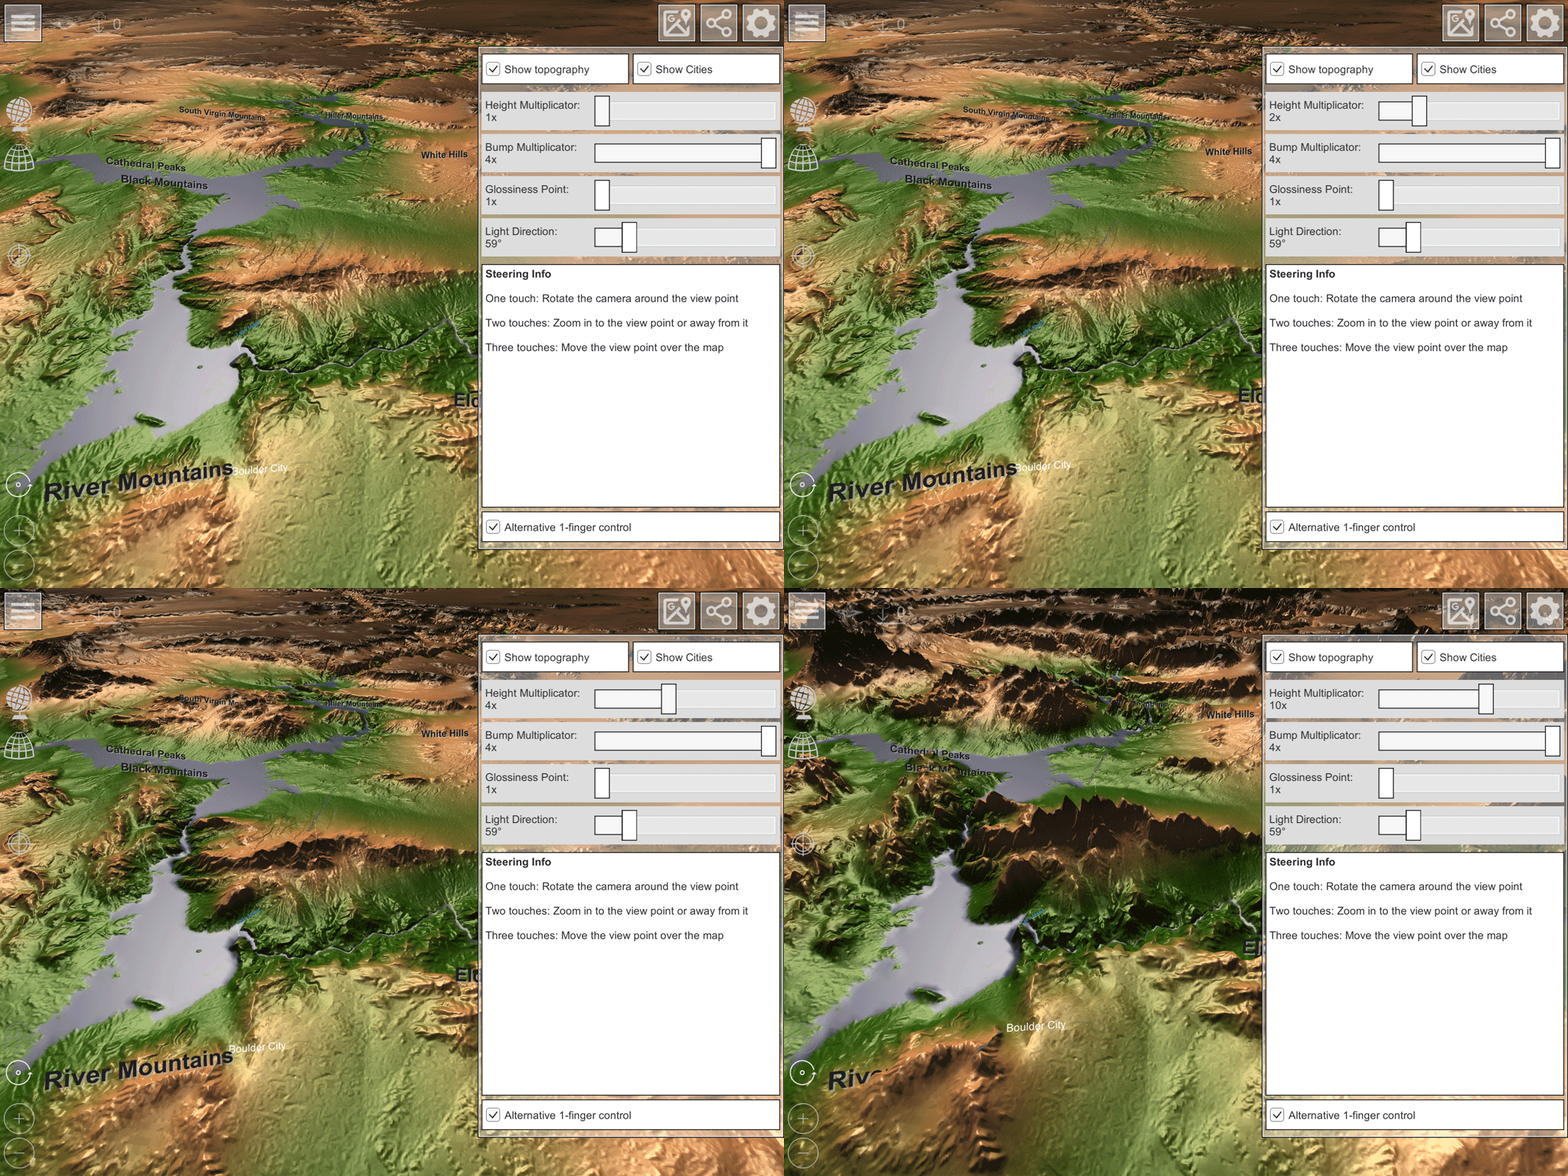
As in the global view, you can adapt the display to your needs here. The options are:
- Height multiplier: For a better display of the height, you can multiply the height of the 3D model by a factor of 1, 2, 4, 10, 20 and 50
- Bump Multiplier: The height details can also be increased. The multipliers 1, 2 and 4 are available here
- Highlight size: Specifies in three stages how sharply light is reflected from the surface. The options are small, medium, and large
- Direction of light: Rotates the camera 360 ° around the tiles. Although this is not realistic in the sense of sunlight, the height structure can be better illuminated.
3D scene control
There are various symbols on the left. With the globe symbol you return to the global view and unload the currently loaded 3D scene.
The second symbol (sphere segment) switches to the rectified sphere display of the 3D map. If you are already in the corrected spherical display, you can switch back to the orthorectified view (tiles along the latitude and high degrees) using the grid symbol.
